Now that the pony wall kitchen framework is placed, I want to create a floor for the front sleeping and dressing area. The floor of the Sienna is NOT flat. It is hilly, up and down. And there is an overall slope downward from where the rear well begins, forward to behind the front seats.
It was a bugger to figure out how to make the floor level. First I tried taking it to a flat parking lot so I could figure out how much adjustment the floor would need. But once I was trying to find a level spot in a parking lot, I realized that parking lots are not level! They are sloped everywhere so they drain!
So I brought it back home to my driveway. I laid a 2×4 on edge that was the length of my wheelbase, and I put a level on it. I lifted one end to figure out where level was and how sloping my driveway was. Then I used this benchmark to figure out how much I needed to compensate in my floor to make it level. That is probably as clear as mud. But it worked!
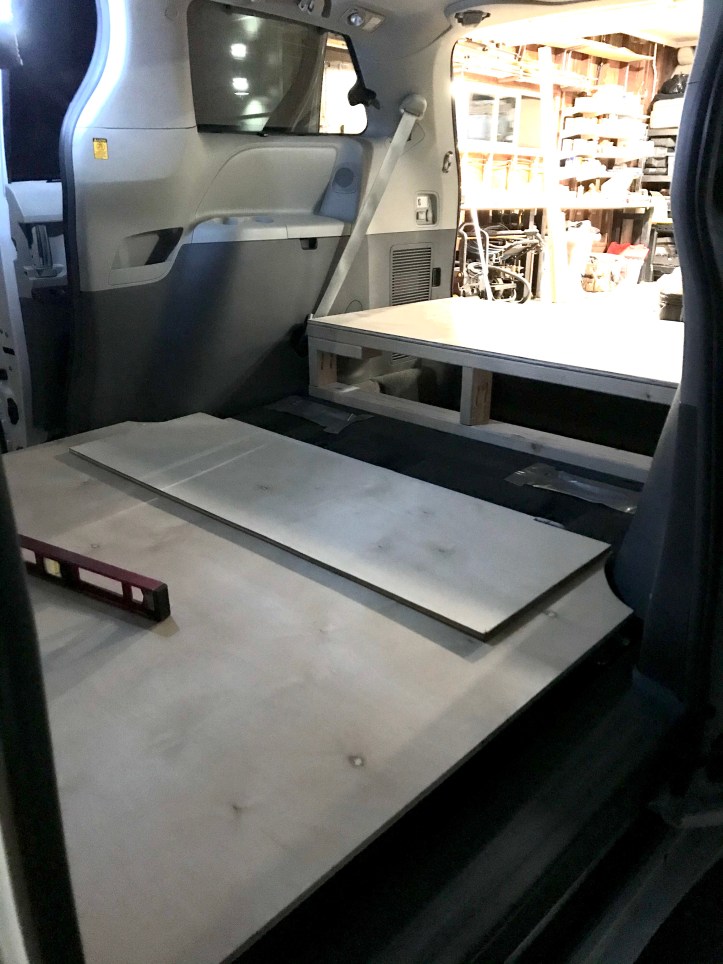
I used 1/2″ plywood again for my floor. It’s not perfectly rigid but it’s fine, and it’s a lot lighter than 3/4″ And, of course, cheaper!
I used my measurements to create shims to go under the floor to support it in a level position.
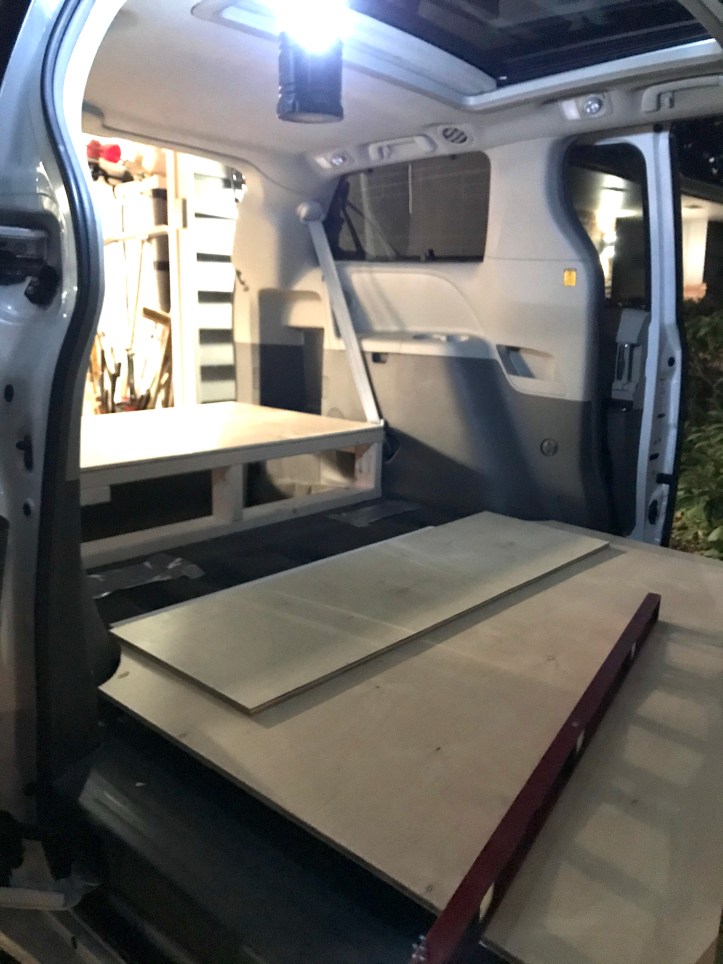
I created a pattern of the shape of the van floor, because it goes from 48″ wide behind the rear wheels, to about 54″ wide between the sliding doors. I want my floor to follow the shape of the van floor, so I can’t just use a 4×8′ sheet of plywood lengthwise. That meant I turned the plywood crosswise and used two pieces.

It’s dry fit in place. Perfect! Hurray!